
This is for webinars and free events, where guests RSVP rather than pay. If you are selling places or charging for entry, use Ticketed Events under Calendar & Events instead, so people pay when they book.
How it works, a quick overview
1. Create the Event
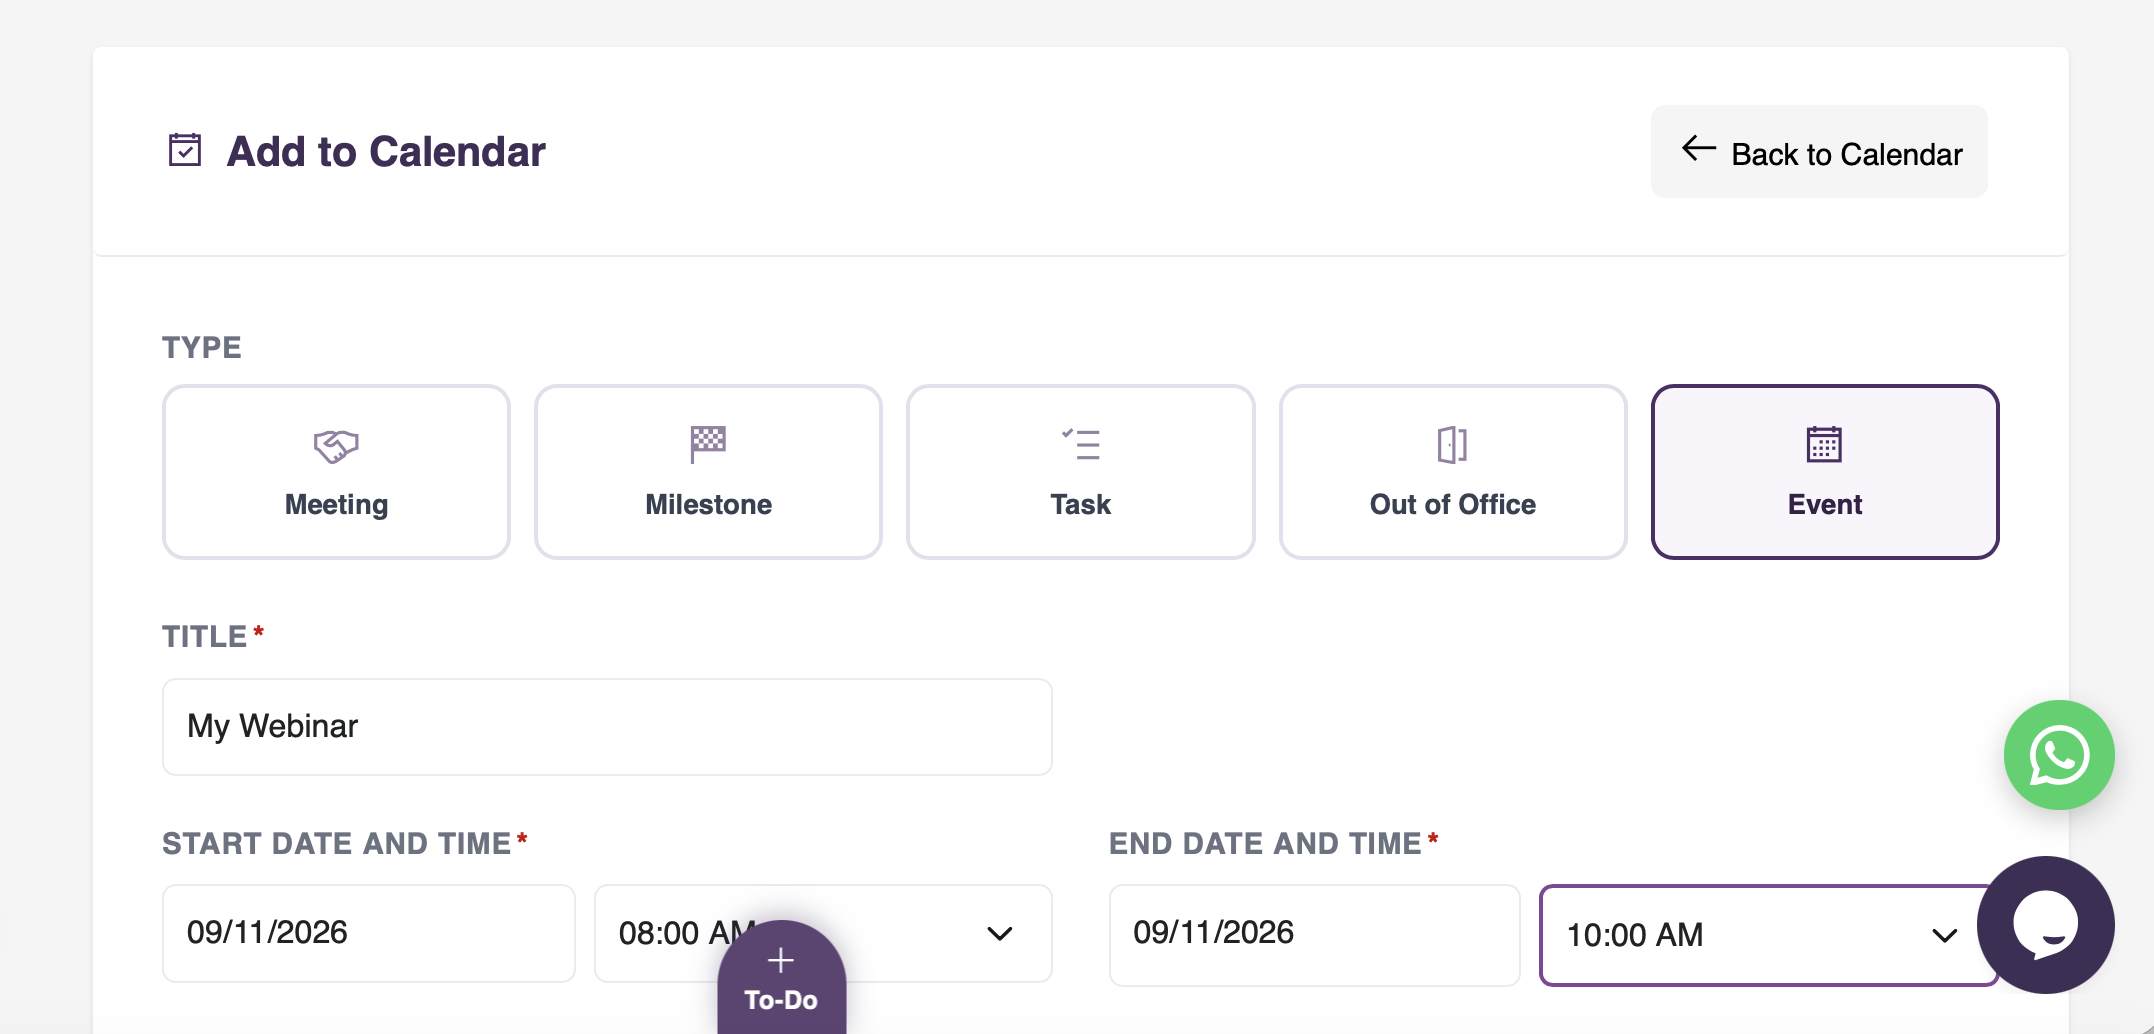
Go to Calendar & Events > Webinars & RSVP and click the + button, or click Add to Calendar in My Calendar and choose Event. Give it a title, the date, the start and end time, and a description. The description appears on everyone's invitation and on their event page, so use it to say what the webinar covers and who it is for. Times are entered in your account's local time zone, based on your organisation's country.
Invitations are for one date, so they are not available on an event set to repeat. If you run a regular session, create a separate event for each date you are inviting people to.
2. Open Joining details
Open the event and click Joining details. This is where you say whether it is online or in person, add the joining link or venue, a cover image and reminders. Next to it, Invitations & RSVP (free) is where you invite people and see who has replied. Both appear as tabs at the top of either page, so you can move between them.
Every webinar and free event is also listed under Calendar & Events > Webinars & RSVP, with how many are invited, attending and still to reply. An upcoming event still missing its joining link or venue is flagged there, so nothing goes out without it.
3. Add the Joining Details
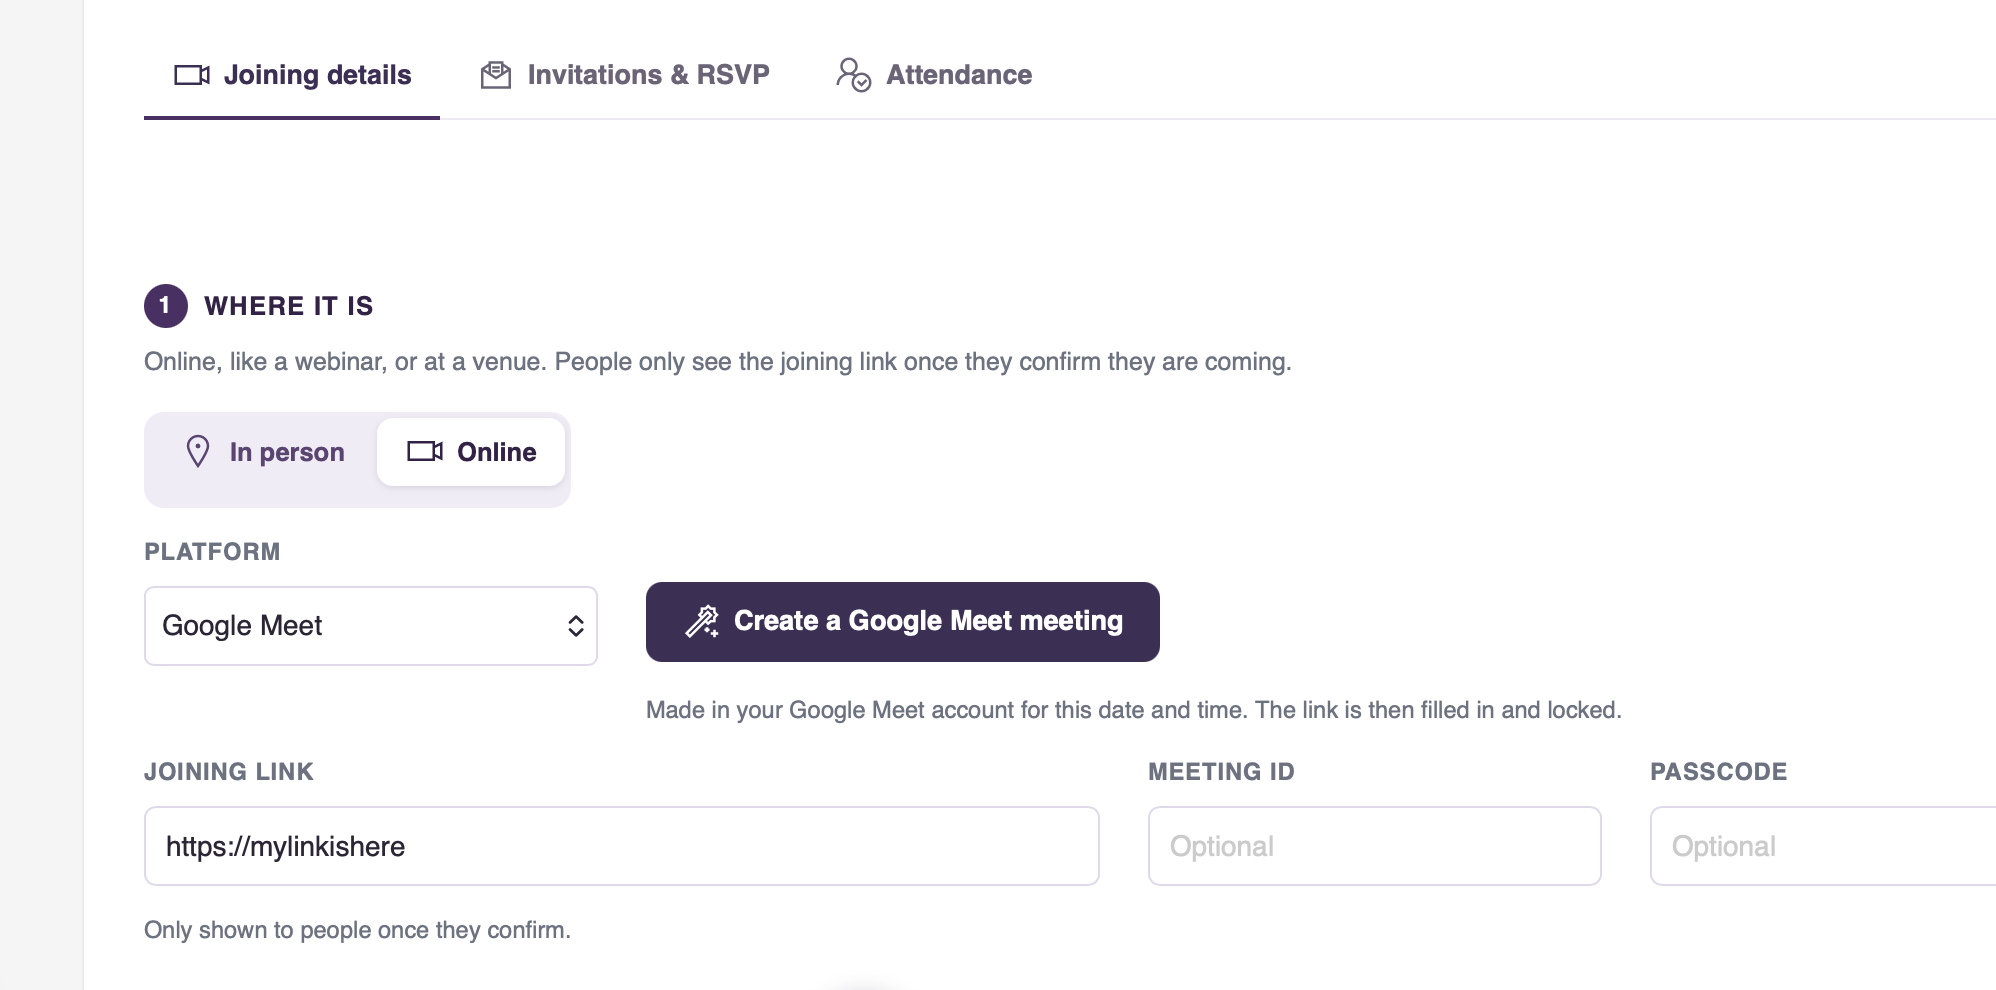
On Joining details, under Where it is, choose Online or In person.
- Online: choose the platform (Zoom, Google Meet, Microsoft Teams or another). If you use Zoom or Google Meet and have connected it in Integrations, click Create a Zoom meeting or Create a Google Meet meeting, and the meeting is made for you in your own account with the link filled in. Otherwise, paste the joining link, plus the meeting ID and passcode if there are any. The joining link is kept back until each person confirms, so it only reaches the people who are coming.
- In person: add the venue's name and address. Everyone's invitation and event page shows it with a link to open it in maps.
- Add a cover image: your flyer or banner, ideally 1200 × 630 pixels. It appears on everyone's event page, in the emails, and when the link is shared on WhatsApp or social media. Large images are made smaller for you, so the emails stay quick to open.
- Turn automatic reminders on or off: when on, everyone attending is emailed the day before and again an hour before it starts (see Step 8).
A meeting created from MyCo is locked to the event, so the link cannot be changed by mistake:
- If you change the event's date, time or title, the meeting is moved to match when you save, and the link stays the same. The event page warns you before you save.
- To switch to a different meeting or platform, click Remove meeting. This deletes it in Zoom or Google, so the old link stops working. You can then create a new one or paste a link.
- Cancelling or deleting the event deletes the meeting too.
Go to the Invitations & RSVP (free) tab. Under Invite people, choose how you want to add them:
- Contacts: search by name, email, mobile or organisation, and tick the people you want to invite.
- Lists & segments: add everyone on a list or in a segment in one go. Anyone without an email address, or who has opted out of email, is left out.
- By email: invite someone who may not be in your contacts yet. Only the email address is needed. If the email is new, they are added to your contacts for you, so they stay in your records afterwards.
- Missed an earlier event: invite the people who were invited to an earlier event but did not come. You can choose who to include: those who said yes but did not come, those who said they could not make it, and those who never replied.
5. Send the Invitations
When you are ready, click Send invitations. Everyone added but not yet emailed gets their invitation, with the date, the time and a Please RSVP button. The subject line starts with Please RSVP, so it is clear a reply is needed.
Emails are sent from your account, with your banner and your organisation's name, not MyCo's. Each person sees the time in their own time zone, worked out from the country on their contact record, with your time shown alongside when the two differ.
Each person also has their own link in the list, with buttons to Copy it or Send on WhatsApp, which is handy for anyone who prefers a message to an email.
6. People Reply
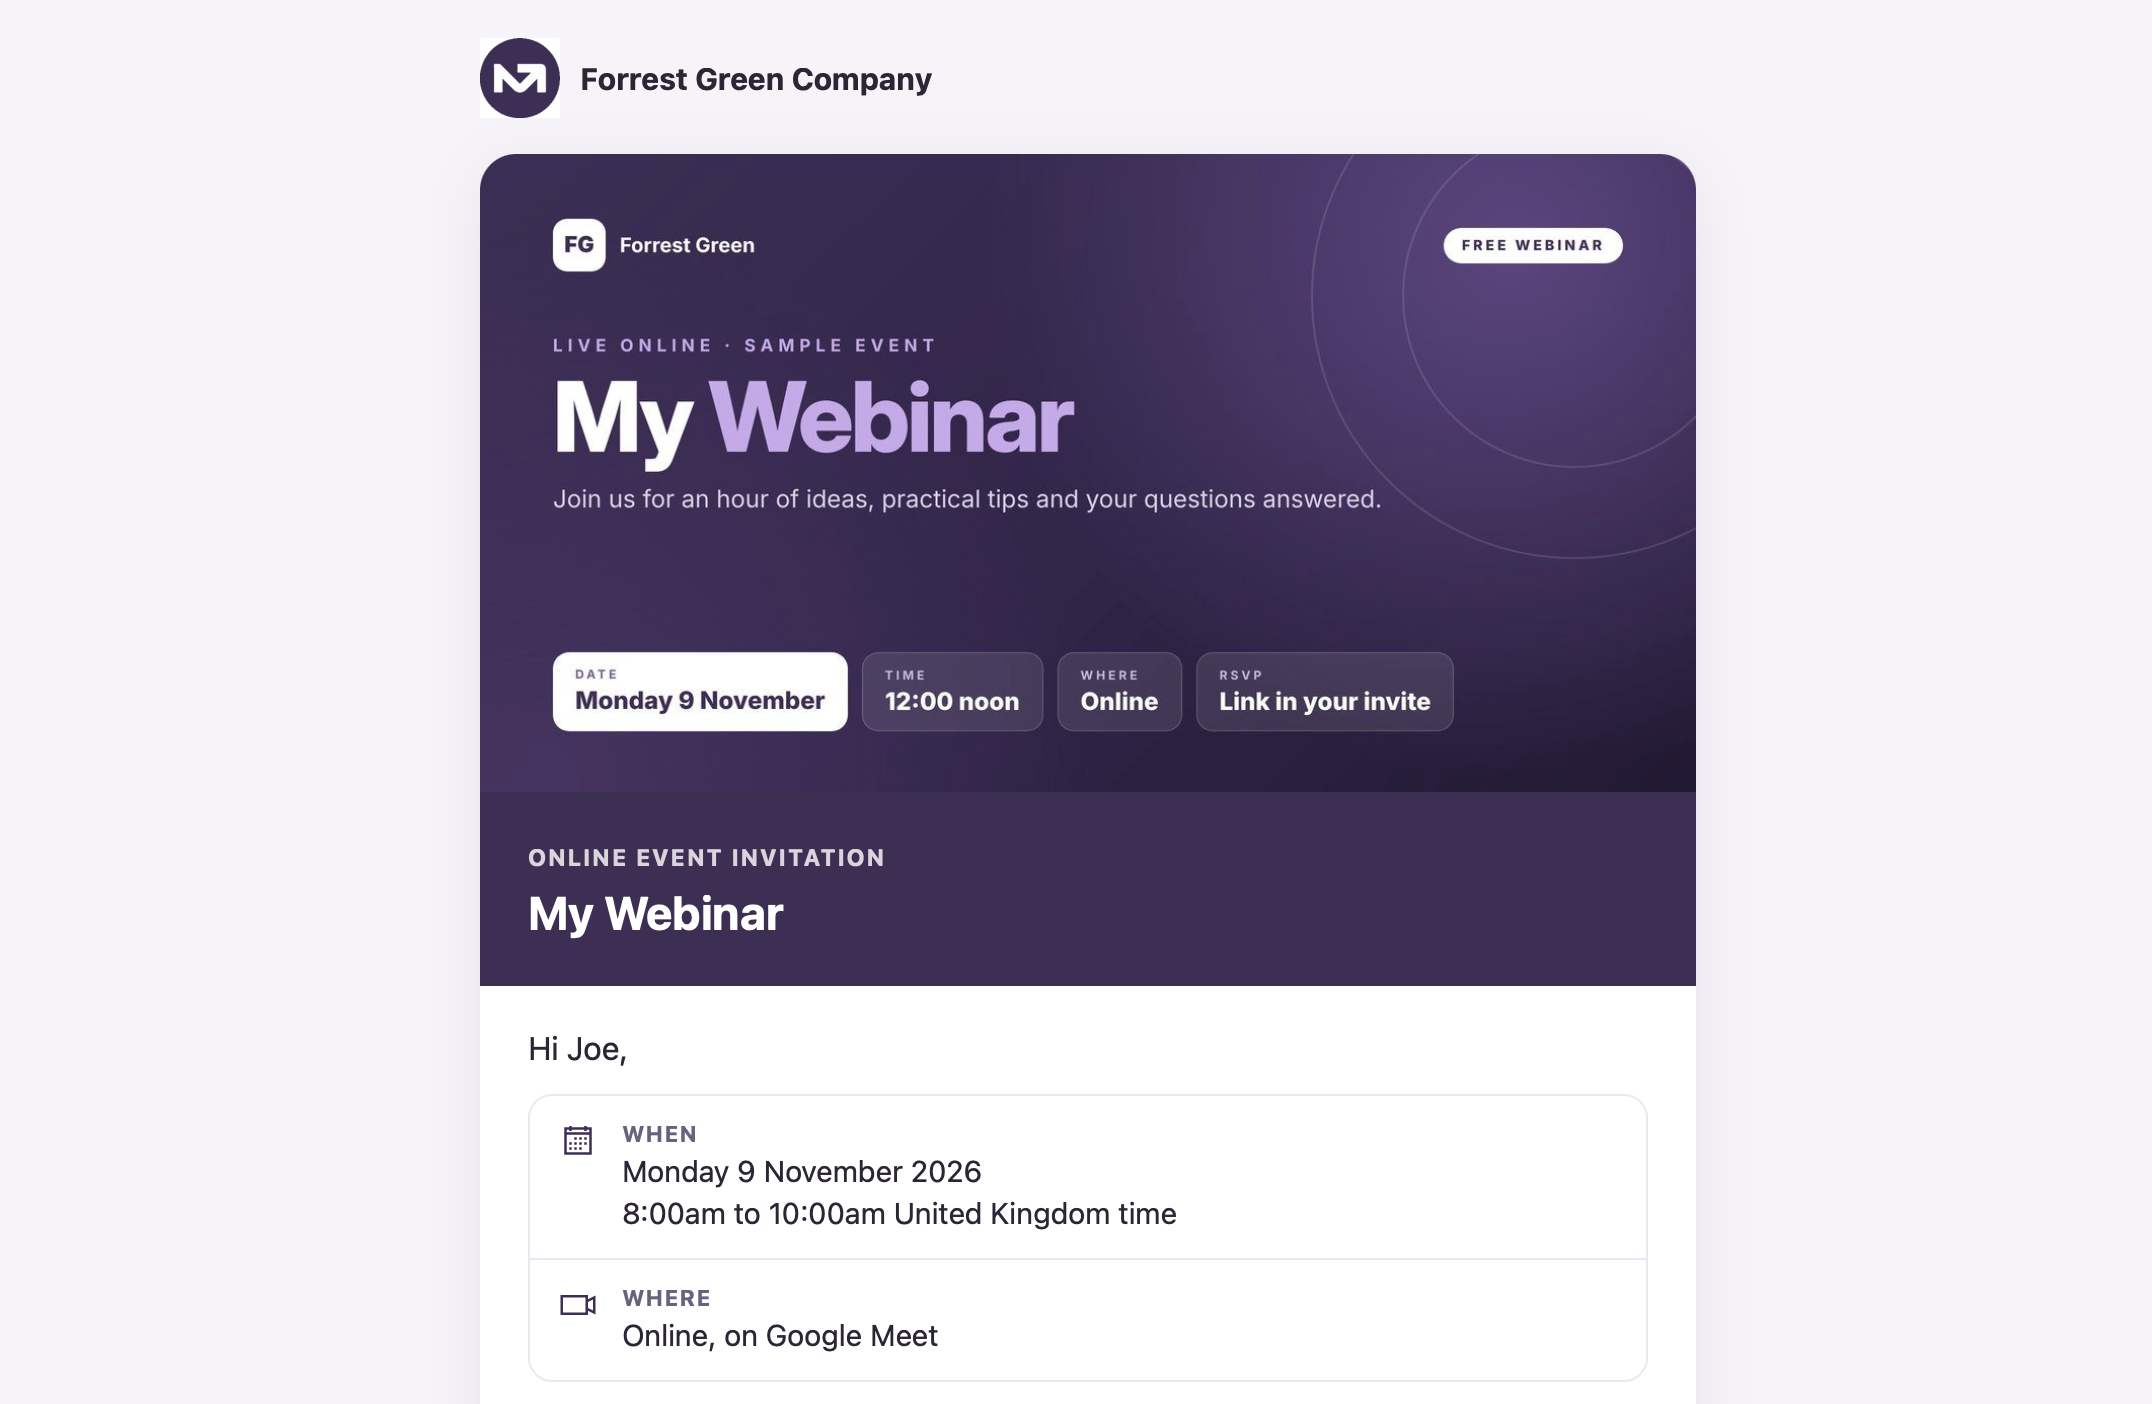
Each person's link opens their own event page, carrying your organisation's name, logo and colours. They see the date, the time in their own time zone, where it is and your description, and reply with one click: Yes, I'll be there or I can't make it. There is nothing to fill in.
As they confirm, they can also ask a question or tell you something they would like covered. Those who confirm are emailed straight away with the joining details for an online event, and buttons to add it to their calendar (Outlook, Apple, Google and most phones). If they can no longer make it, they can say so on the same page, and they are asked to confirm first, so a stray tap does not give up their place.
7. See Who Is Coming
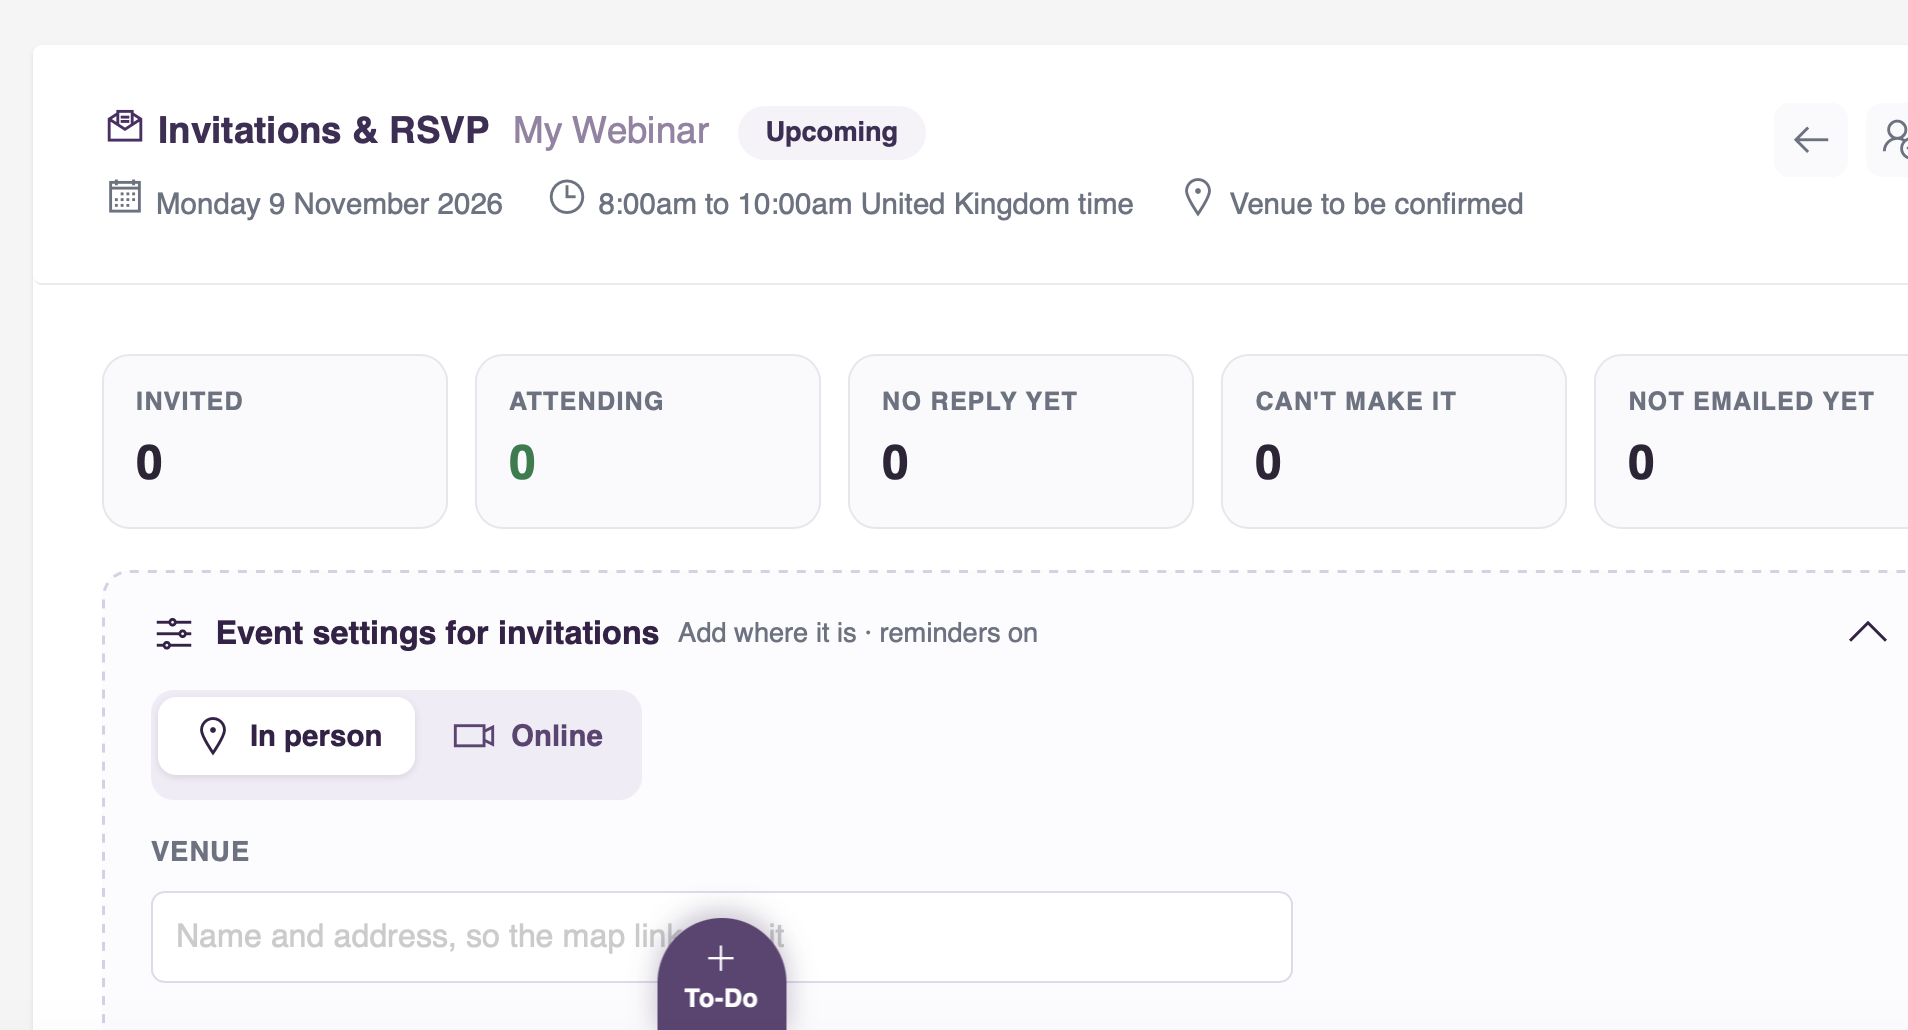
The top of the page shows how many people are invited, attending, have not replied yet and cannot make it. The tabs above the list filter it the same way, and each person's row shows:
- their reply and when they gave it
- if they have opened their page but not replied yet, how many times
- when they were emailed, and whether they have been reminded
- any question they asked, shown under their name, with a Questions tab listing everyone who asked one
8. Reminders
With automatic reminders on, everyone attending is emailed the day before, and again about an hour before it starts, with the joining details or venue. Each person gets each reminder once. You can also send a reminder yourself at any time with Remind those attending.
9. If Something Changes
If you change the date, the time or the joining details, use Email updated details on Invitations & RSVP so everyone already invited has the latest. When you change where it is, or how to join, on Joining details, you can tick the box to email the new details as you save. A Zoom or Google Meet meeting created from MyCo moves to the new time by itself, and its link stays the same.
If the event cannot go ahead, use Cancel this event at the bottom of the page. You can choose to email everyone already invited to let them know, and every link then shows that the event has been cancelled. A Zoom or Google Meet meeting created from MyCo is deleted too, so nobody can join it.
10. After the Event: Attendance and Follow Up
Once the event has started, mark who came with the tick icon on each person's row. It turns green when marked. This records them on the event's Attendance page too, and anyone recorded there, for example by scanning their membership card, shows as attended here automatically.
Then send the follow ups:
- Thank you to those who came
- Sorry we missed you, for everyone invited who did not come
To run the session again for those who missed it, create a new event and use Missed an earlier event under Invite people (see Step 4).
Webinars and events: invite, confirm and follow up, all within MyCo